San Francisco News
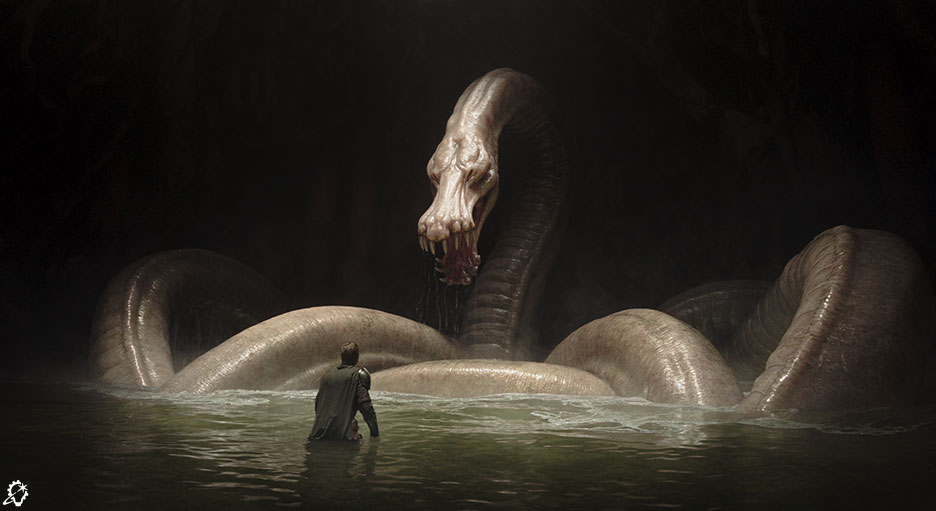
“Every shot was a puzzle to decipher”: How ILM Created the Dragonsnake in ‘The Mandalorian and Grogu’
Tania Richard, Ken Beauchamp, Michael Dharney, Jason Madigan, and Michael Goddard from ILM’s Vancouver studio take us behind the scenes of one of the film’s most exciting and suspenseful sequences.

ILM Earns 2 Nominations at 78th Primetime Emmy Awards
Spider-Noir and Stranger Things have been recognized in two visual effects categories.
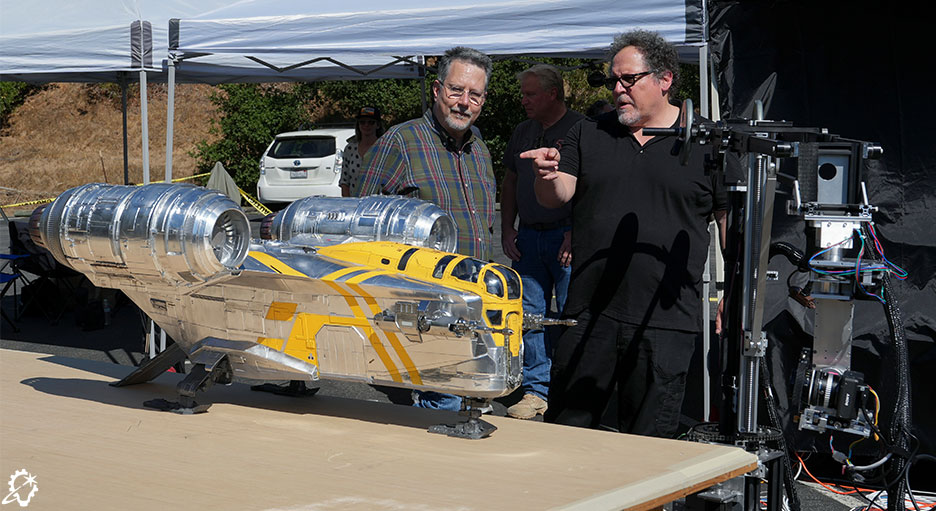
Something Old, Something New: John Knoll on the Visual Effects of ‘Star Wars: The Mandalorian and Grogu’
The production visual effects supervisor and ILM executive creative director discusses balancing the handcrafted legacy of the streaming series with the demands of an IMAX theatrical release.

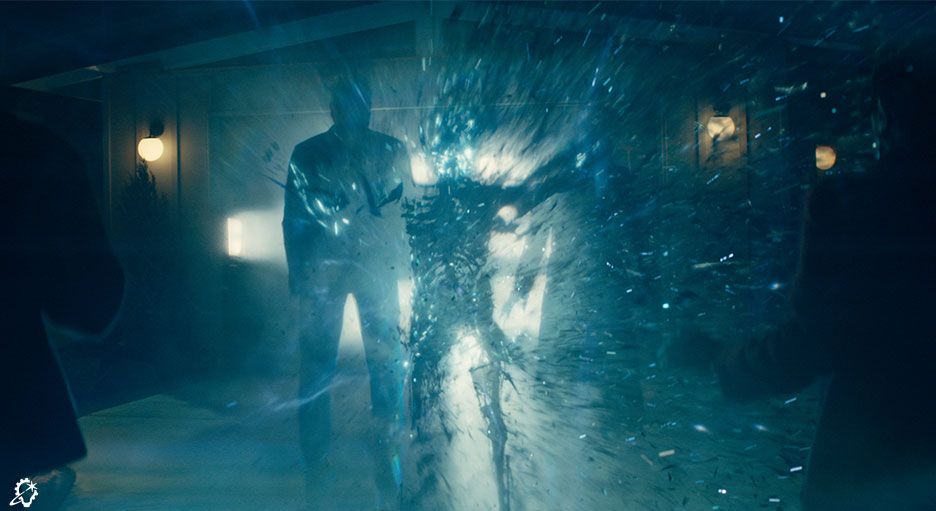
ILM’s Original CG Dept Looks Back at ‘Terminator 2’ in Exclusive Video
Terminator 2: Judgment Day celebrates its 35th anniversary this year, and some of the project’s leading visual effects artists share their memories.
Snakes on a Frame: ILM artists help unleash a slithering terror onto the big screen in ‘Anaconda’
Visual effects supervisor Ben Snow, associate visual effects supervisor Gabriel Reichle, and animation supervisor Stewart Alves takes us behind the scenes at the Sydney studio.
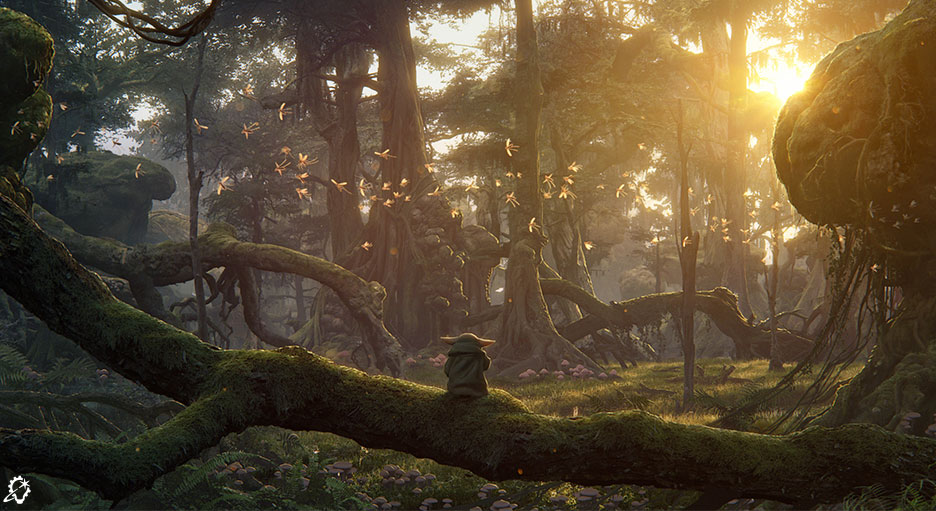
Inside the ILM Art Department: ‘The Mandalorian and Grogu’
Artists from the San Francisco studio share insights about their work on the 2026 Lucasfilm production.
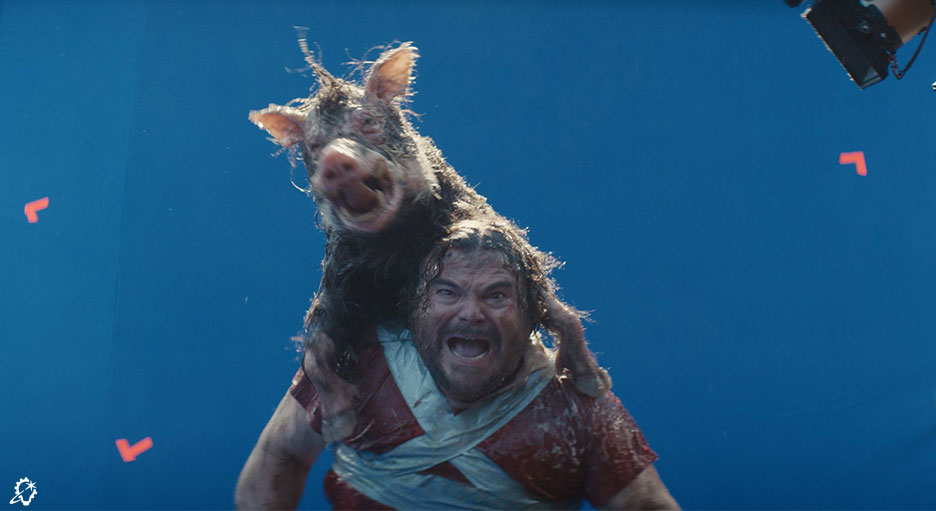
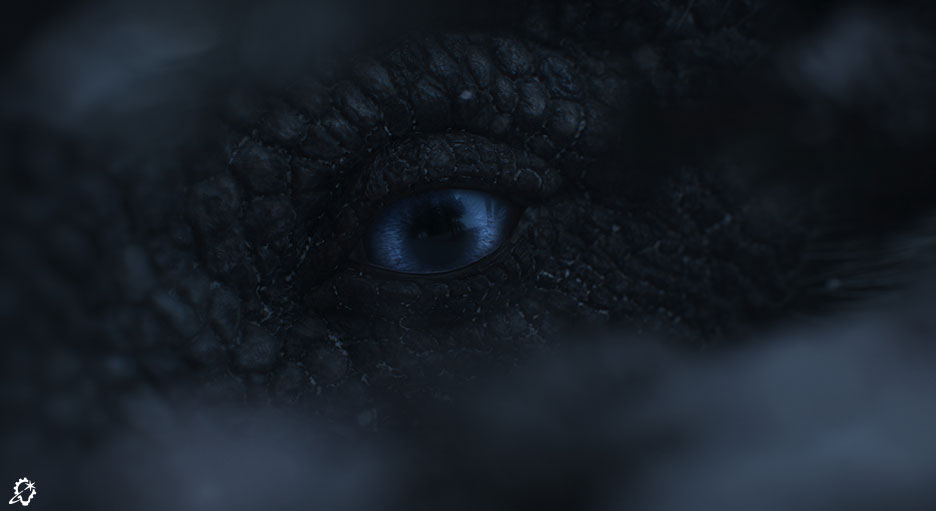
Welcome to ‘The Boroughs’: ILM Packs a Retirement Community with Creepy Creatures, Explosive Blood, and a High-Stakes Standoff
ILM visual effects supervisor Steve Ellis chronicles ILM’s work on Netflix’s latest spellbinding series.
Unearthing the Past: How ILM Brought ‘The Dinosaurs’ to Life
Artists from ILM’s London studio, including visual effects supervisor Steve Moncur, animation supervisor Stafford Lawrence, and CG supervisors Christian Waite and Elizabeth Mitchell, discuss their team’s work on the Netflix series.